Building a picnic table
This is a tale of a project that was beyond my skill, outside my area of comfort, yet still (reasonably) successful.
It all started in March when my wife mentioned her family was coming to visit at the end of the month. I like her family and I wanted a memorable project to work on with my nieces and nephews. In the fall I volunteered on a home restoration project so I gained a little experience with power tools and building materials and I wanted to keep learning. I also love being outside in the yard but I feel we are missing a few things - like lawn furniture - to make it more comfortable. Put this all together and I’ve found a three-for-one deal: build a picnic table (lawn furniture), with my nieces and nephews (memorable project), and continue to stretch myself with tools (learn). Perfect, right?
A google search will show you tons of simple picnic table projects with a list of materials and the tools you need. I took a quick look before everyone arrived and thought this would be no problem. When the family arrived, I asked my nephew to help pick the design and we picked out The Weekend DYI Picnic Table Project (from DYIDiva) because of the flexibility of separate benches and table. I skimmed the website and it had pictures and paragraphs of text and a list of the materials needed. Looks simple and fun. Well… the lap joints are probably hard but it’s okay to have one hard thing.
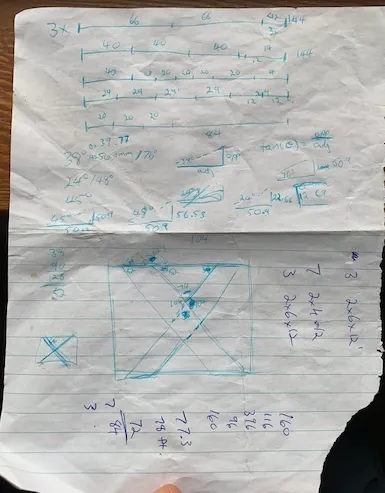
Things that look simple are often not so simple when you get into the details. For example, the materials say five 2x6x66” boards but hardware stores don’t sell boards in that size or at least mine doesn’t. They have 8’, 12’, or 16’ lengths. Fortunately I knew this already so before going out, I sat down and added up how many feet I needed of 2x6 (27.5’) and 2x4 (77.3’) and rounded up to the nearest length that made sense. Word of caution: you will lose an 1/8” or so on each cut based on the thickness of your saw blade. If you’re not careful and you make several cuts then you may end up with a 10” piece when you expected a 12”. I actually ended up doing a little drawing of the boards to visualize where I would make the cuts. I decided to get three 2x6x12 and five 2x4x12 boards. Things are rarely as simple as they appear but a little planning helps. Below is a photo of my messy notes.

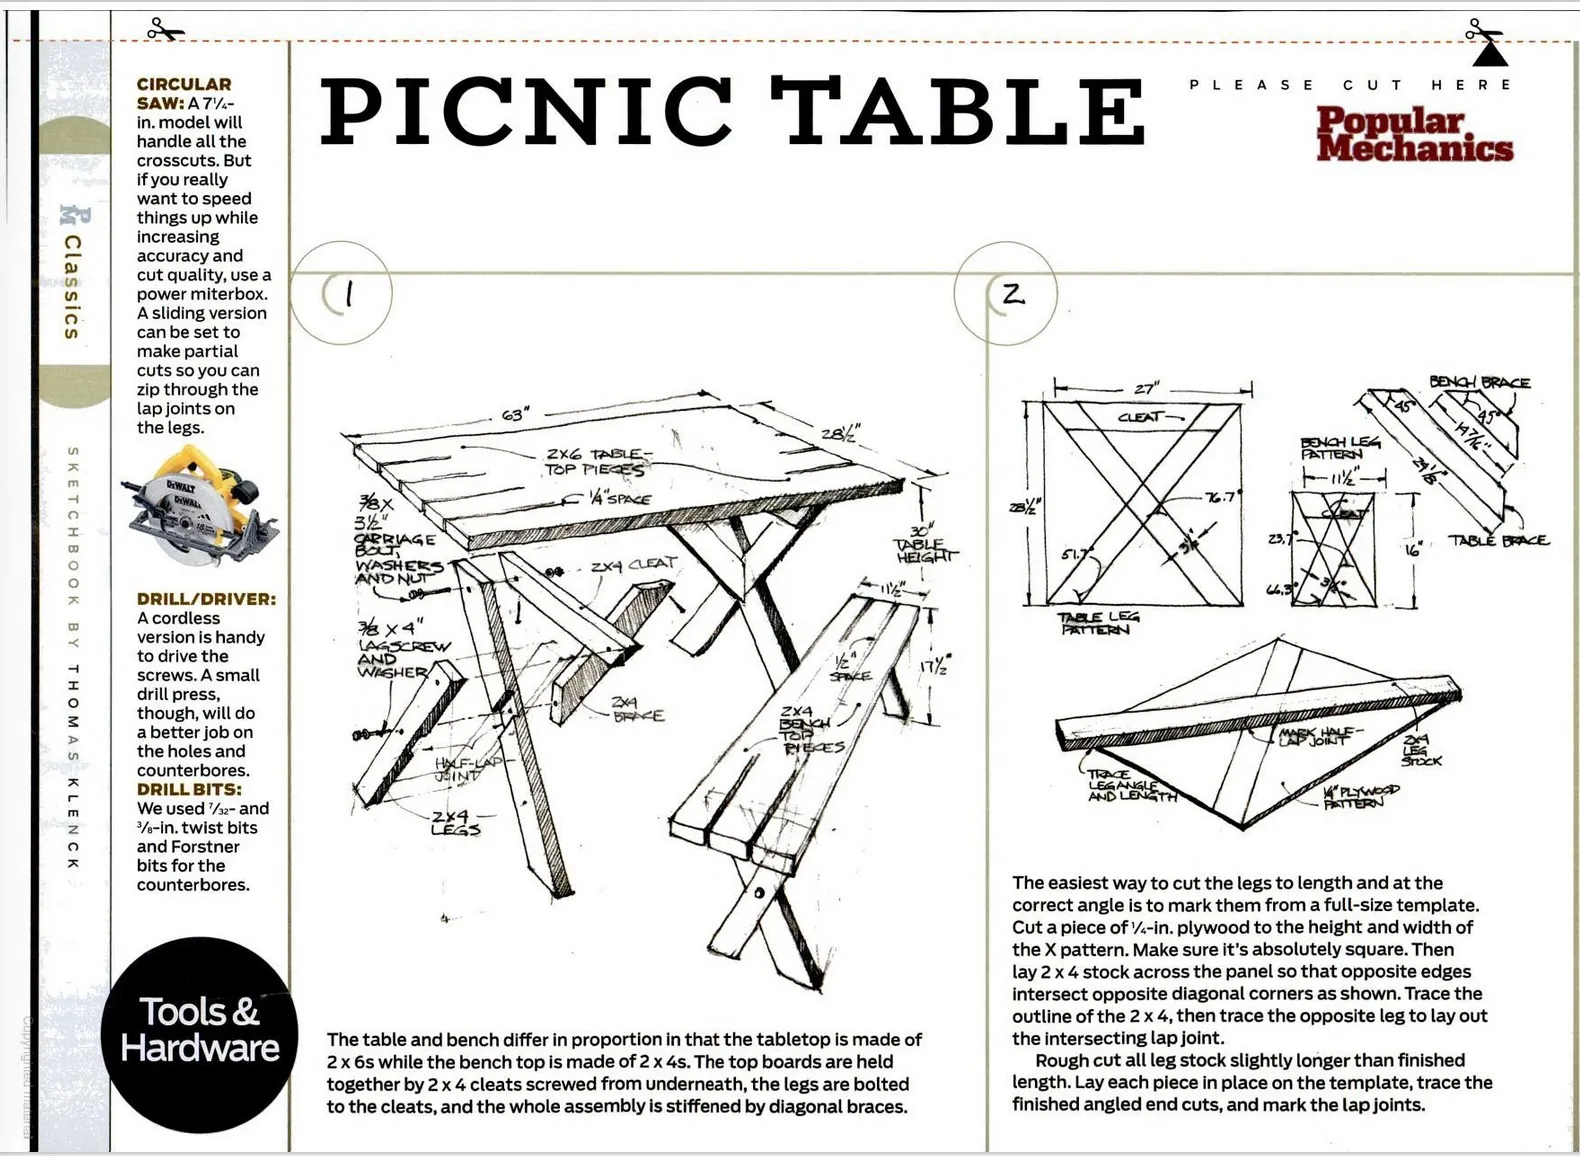
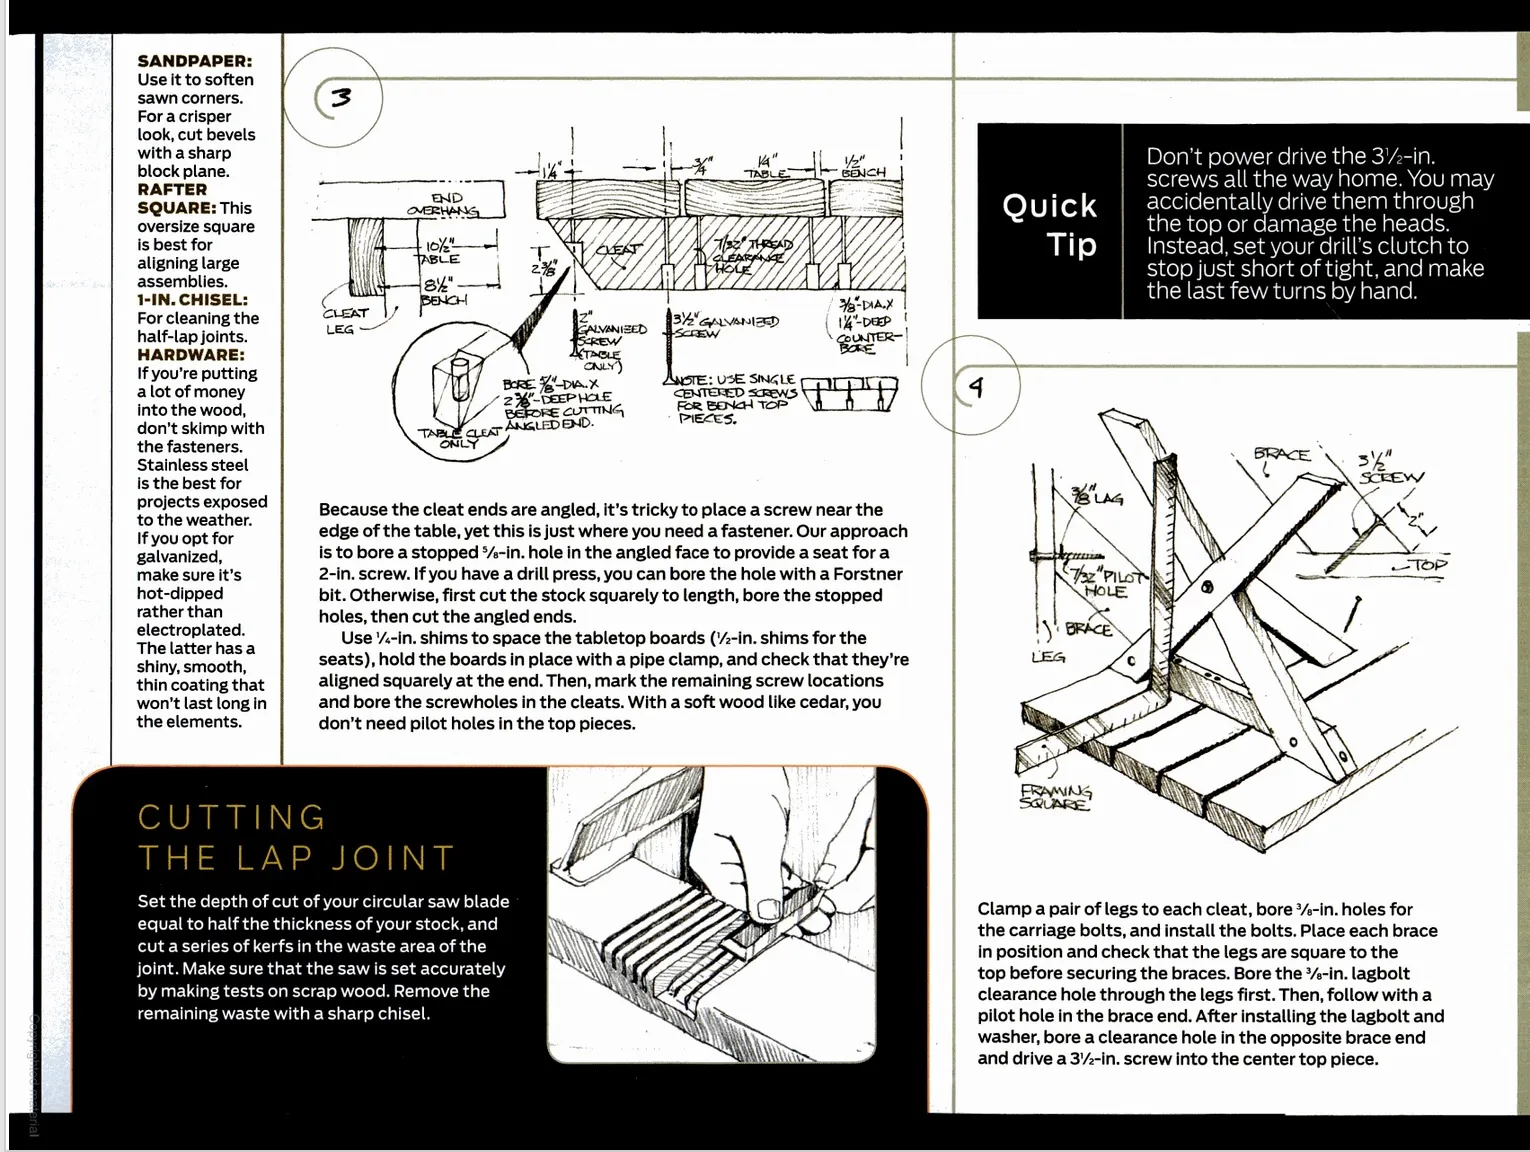
Note that this is not a knock on DIYDiva. They’ve put together a more detailed description than the two photo pages from the Popular Mechanics plan they referenced. Now that I’ve completed the project though, I wish I had taken more than a glance at the source material because it has different details and it would have helped me think. For example, DIYDiva says we need 3/8” lag bolts but not how long. At the hardware store, all I could find were carriage bolts and it took a bit of thinking to get the right size (3 1/2” which is mentioned in Popular Mechanics if you look closely). Lesson learned.
 |  |
Cutting boards to a certain length isn’t hard but how to cut angles? The plans call for cuts on 38°, 24°, and 45° angles. I knew I didn’t have a miter saw and I could have cut them at the hardware store but where’s the fun in that? I assumed we had a protractor in the house and quickly found out we didn’t (and no speed square either). I didn’t really want to go buy one so I paused to think and I had a light bulb moment. It just so happened that, earlier in the week, I had been chatting with a friend about baseball and he mentioned using pythagorean theorem to paint the lines on the field. I have the tools I need: a square for right angles, a tape measure for length, and a calculator for - drum roll, please - trigonometry! (and a sliding t-bevel for capturing and transferring the angle). I made a few notes and back to work.
The next tricky part was figuring out where to cut the lap joints. Neither DIYDiva nor Popular Mechanics have the measurements because they recommend using a template and I decided not to do this. It’s a one time job so why create a template? The best I could figure was to place the legs in a cross on the bottom of the bench, put a level on top to get them close to level, then draw the lines where we want the joints. It was a little finicky and not perfectly accurate but this project was pretty forgiving and it worked well enough. Cutting and chiseling the joints was fun and I even managed to get the kids to help chisel.
The last challenge was the carriage bolts. I have lots of drill bits in different sizes but somehow I didn’t have a 3/8” drill bit for the 3/8” carriage bolts. At first we tried with slightly smaller bits that I did have but it was hard to get the bolt through the hole and hard to fit the washer around it when we did. At this point, I decided it was best to get the right tool so I went and bought the drill bit. With the right bit, things were much easier.
Result
- New lawn furniture which will be great for dinners outdoors, hosting friends, or for sitting by the campfire fire? Check!
- Get the kids to help and build a memory together? Check!
- Learned a lot? Check!
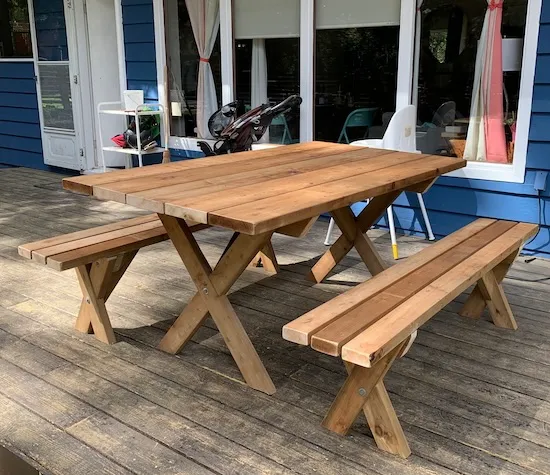
I’ll call this a success. It took 2-3 of us about 3 afternoons of work. The angles are definitely not perfect but a little sanding on the bottom of the table legs and benches should help.

Since I still have a work mindset, I’m always thinking about what I’ve learned and could do better. Here’s a few lessons I learned along the way:
- The right tools make a huge difference. A speed square is definitely now on my shopping list. Maybe a miter saw someday.
- Cut as you go. I cut everything up front at 90° and then cut angles off that which resulted in a lot of waste. DIYDiva says the bench braces are 12” but that is the short side of the brace. I ended up wasting those and cutting new ones because if the long side is only 12”, the short side won’t be long enough to go from the bench legs to the bench itself. If I was going to be producing hundreds of these tables, switching tools would be inefficient but when it’s a one-off project and I’m learning, it’s probably better to take it slow and cut only when needed.
- Draw lots of pictures and plans. Write your measurements. Double check things. Writing plans and drawing will save time later and you may even change your approach. It’s much cheaper to throw away paper than wood.
- Review multiple sources of information. Derived works, like a website or blog post (like this one), can be insightful and help you see details differently but they may omit details too. Look at as many resources as you can to help you get the full picture. Especially when you’re trying out new skills.
- Projects, especially when you are learning, take time. While I don’t expect I’ll be anywhere near as efficient or precise as an experienced carpenter, this project still felt slower than I expected. I should probably double my estimates and expect lots of mistakes. There is a cost to learning something new.
As a software guy, I probably have a story for each time I’ve learned one of these lessons in my professional life. I’m not sure why I didn’t see these things coming. Perhaps my mind was busy enough with applying new skills and finding ways to involve the kids that I didn’t have room to think at a high level. I bet I could find all sorts of projects and situations where these lessons apply.
ps. The astute reader will notice my table top is made of 2x8 boards, not 2x6. I accidentally picked out the wrong size and had already cut them before I realized what I had done. I settled the bill with Home Hardware (they are awesome and so kind) and, truthfully, I like a wider table top. There is extra room for food and games. Building something yourself is like jazz - you can improvise on your mistakes!